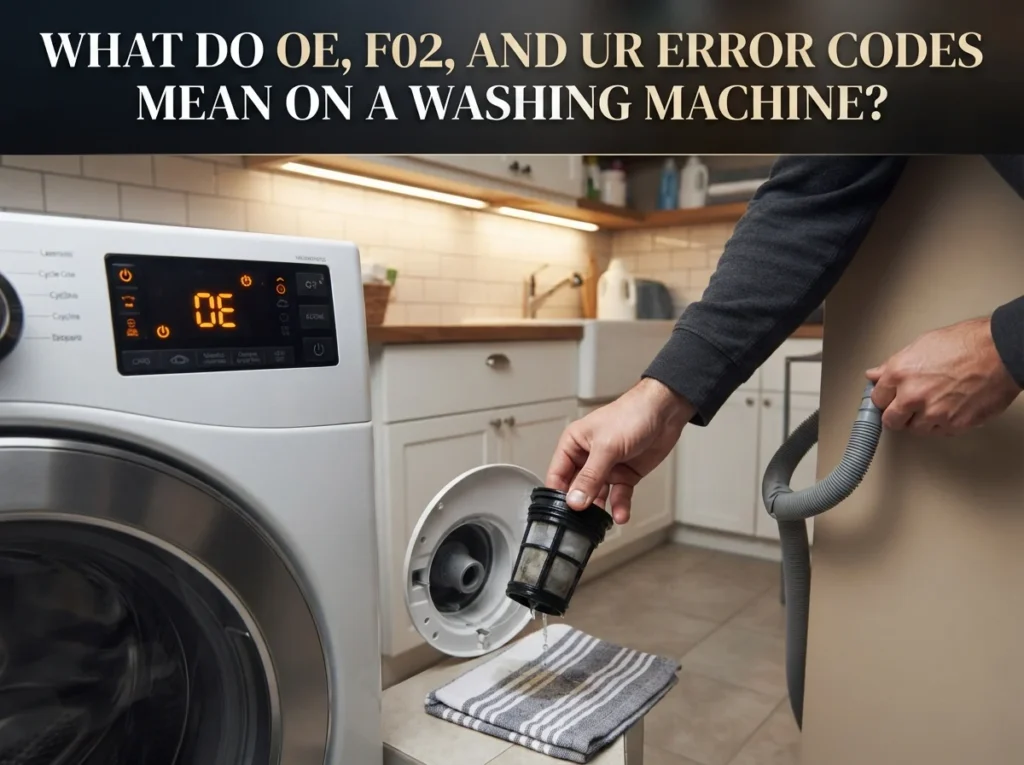


The Kenmore washer LE code means your drive motor is locked and the drum cannot spin. Your machine stopped mid cycle, the clothes sit wet inside, and two letters glow on the display. Good news: this code points to a small list of causes, and several of them cost nothing to fix. Work through them in order and you will find yours.
The Kenmore washer LE code stands for Locked Motor Error. Your washer shows it when the control board senses that the drive motor cannot turn the drum at the right speed. Common triggers include an overloaded drum, heavy suds, a coin wedged near the basket, or a worn rotor position sensor. Start with a five minute reset.
What the Kenmore Washer LE Code Actually Means
Inside your washer sits a control board. That board watches the motor every second a cycle runs. It sends power to the motor and waits for a signal back that says “I am spinning at this speed.” When the signal stops or reads wrong, the board halts the cycle and posts LE on the display.
So the code describes a symptom, not a diagnosis. Your board knows the drum stopped turning correctly. It does not know why.
Why “Locked Motor Error” Rarely Means the Motor Is Dead
Most people read the word “motor” and picture a big repair bill. Relax. The motor itself is one of the least likely parts to fail on these machines.
Far more often the drum meets resistance, or the speed signal gets interrupted on its way back to the board. A pair of jeans wrapped tight around the agitator creates resistance. So does a coin lodged between the spin basket and the outer tub. Loose plugs on the wire harness interrupt the signal. In each case the motor works fine.
LE vs dE, OE, PE, and UE: Confirm You Have the Right Code
Two letter codes look alike on a small display. Some sources online mix them up, and a few even claim LE points to the door lock. It does not. Here is the correct split for LG built Kenmore machines:
- LE: Locked Motor Error. The drum fails to spin properly.
- LE1 or LEI: Same motor lock family, seen on certain top load models.
- dE: Door lock error. The door or lid is not latched.
- OE: Drain error. Water is leaving the tub slowly or not at all.
- PE: Pressure sensor error. The water level reading is off.
- UE: Unbalanced load. The drum weight sits to one side.
- tE: Temperature sensor error.
If your display reads dE, skip this guide and check your door latch instead. LG publishes the official code definitions for these machines, since LG builds them.
Start Here: Check Your Model Number Prefix
Before you touch a screwdriver, find your model number. Open the door and look at the label on the door frame or the front lip of the cabinet. Those first three digits decide whether anything below applies to you.
796 and 795: LG Built Kenmore
These are the machines that display LE. Kenmore Elite front load washers and several top load models carry these prefixes. LG manufactures them, which means they use an inverter direct drive motor with no belt and no transmission. Every step in this guide targets your machine.
110: Whirlpool Built Kenmore
Whirlpool builds these, and they do not post an LE code at all. Whirlpool platforms use F codes instead, so a two letter LE reading on a 110 machine usually means you misread a character. Look again at the display, then match the code to a Whirlpool washer repair guide instead.
417: Frigidaire or Electrolux Built
Another platform with its own code set. LE is not part of it.
Is Your LE Constant or Intermittent?
This one question saves hours. Watch how the code behaves, then follow the matching path.
Constant LE. The code appears every cycle, often at the same point, and the drum feels stiff or noisy. Head straight to the no tools fixes and the obstruction check. Something physical is holding the basket.
Intermittent LE. The code showed up only during spin at first. Now it lands at random moments, and the drum turns smoothly by hand. This pattern points at the wiring, not the mechanics. Jump ahead to the harness flex test.
Tools and Parts You May Need
Gather these before you open anything:
- Phillips screwdriver and a flat blade screwdriver
- 17mm socket wrench for the rotor bolt
- 10mm socket wrench for the stator screws
- 15/16 inch socket, for one specific fix covered below
- Rubber mallet or impact wrench
- Multimeter that reads ohms
- Wet or dry shop vacuum
- Blue threadlocker
- Needle nose pliers
Possible replacement parts include a rotor position sensor and, less often, a stator assembly.
Fixes That Need No Tools: Try These First

Roughly half of all LE codes clear right here. Unplug the machine before you reach inside it.
Hard Reset the Control Board
Power surges scramble control board memory. A reset wipes it clean.
Pull the plug from the wall outlet. Let the washer sit for five full minutes so the stored charge in the board drains away. Plug it back in, pick a short cycle, and watch. Many people stop at thirty seconds, which is too brief for the capacitors to empty.
Reduce or Redistribute the Load
Packed drums strain the motor. Open the door and pull out a third of the laundry. Spread what remains evenly around the drum, and untangle anything twisted into a rope.
Bulky items cause the most trouble. Wash one comforter or a single pair of heavy jeans with just a couple of light items for balance. Take king size bedding to a laundromat machine built for the weight.
Clear Excessive Suds
Thick foam acts like glue on a spinning drum. Peek through the glass. Foam climbing the door tells you the detergent dose ran high.
Let the washer rest for thirty minutes so the suds collapse. Pour a cup of white vinegar into the dispenser drawer, then run a Drain and Spin cycle. Finish the current load with no added detergent at all. Going forward, about one tablespoon of high efficiency detergent handles a normal load.
Drain the Water and Check the Drain Path
Water left in the tub adds serious weight during spin. Run a Drain and Spin cycle first. If water stays put, unplug the machine and pull the water out through the drain hose with a shop vacuum.
Then trace the drain path. Straighten any kink in the hose. Confirm the hose sits high enough in the standpipe to leave an air gap, since pushing it too deep creates a siphon. Finally, open the drain pump filter behind the lower access panel and clear the lint, coins, and stray socks that collect there.
Spin the Basket by Hand
With the power off, reach in and turn the stainless basket. It should rotate smoothly and coast a little.
Grinding, catching, or a hard stop means an obstruction sits between the spin basket and the outer tub. Underwire, coins, and small socks are the usual finds. Feel around the gap at the bottom of the basket and pull out whatever you find.
The Loose Rotor Nut Fix Most Guides Skip
Here is a repair almost nobody publishes, and it costs nothing.
The rotor mounts to a shaft at the back of the machine and is held by a large nut. On some units that nut works loose over years of vibration. Once it loosens, the rotor wobbles instead of gripping, the drum stops turning at the commanded speed, and the board posts LE. Owners on repair forums have found the nut sitting on the floor under the washer.
To check it, unplug the machine and pull it away from the wall. Tip the cabinet back to reach the underside. Look for the ventilated disc roughly the size of a frying pan, with the nut at its center. A 15/16 inch socket fits most of them.
If the nut spins freely, that is your answer. Add a few drops of blue threadlocker, snug it home, and set the machine upright. Run a test cycle.
Accessing and Inspecting the Motor Assembly
Still seeing the code? Time to open the back. Unplug the washer, shut off both water faucets, and move the cabinet out.
Remove the Rear Panel and Rotor
Take out the four Phillips screws holding the rear panel and slide it off. The motor sits right there.
Turn the 17mm rotor bolt counterclockwise. The whole rotor wants to spin with it, so hold the rotor still and tap the wrench with a rubber mallet to break the bolt loose. Once free, pull the rotor straight off with even pressure from both hands. Strong magnets grip it, and pulling from one side risks cracking them.
Inspect the Rotor Magnets and Hub Splines
Flip the rotor over. Run your eye around the inner ring of magnets and look for cracks, chips, or burn marks. Damaged magnets weaken the magnetic field, and they are not sold separately, so a cracked magnet means a new rotor.
Check the splines inside the center hub too. Rounded or stripped splines let the rotor slip on the shaft, which produces the same symptom as a locked motor.
Test the Rotor Position Sensor
The rotor position sensor, also called the hall sensor, clips to the inside of the stator ring. This little component reports rotor speed and position back to the control board, and it fails more often than any other part in this system.
Remove the six 10mm stator screws while supporting the stator with one hand. Unplug the two wire harnesses. Press the retaining tab with a flat blade screwdriver and lift the sensor off its pegs.
What Your Multimeter Should Read
Readings published online often confuse people because two different components use two different units. Keep them separate:
Rotor position sensor, measured in kilohms:
- Pin 5 to pin 1: about 5k to 15k ohms
- Pin 5 to pin 2: should closely match the first reading
Stator windings, measured in plain ohms:
- Pin 1 to pin 2: about 5 to 15 ohms
- Pin 1 to pin 3: same range
- Pin 2 to pin 3: same range
A sensor reading that climbs toward infinity, or two pin pairs that disagree wildly, calls for a new sensor. Stator readings outside the ohm range point to a stator replacement.
Order the Correct Replacement Part
Two stator versions exist for these machines. One has the hall sensor built into the stator assembly. The other uses a separate clip on sensor, commonly stocked under part number 6501KW2002B. A stator assembly such as AJB73816005 falls into the group without the integrated sensor.
Guessing here leads to returns. Type your full model number into any parts supplier lookup, then match the diagram to what you actually see on your machine.
Still Getting LE After Replacing Everything?
Some owners swap the sensor, the stator, the rotor, and even the bearings, and the code returns. Two culprits usually remain.
Flex Test the Motor Harness
A wire can break inside its insulation and still pass a normal continuity test while sitting still. Vibration opens the break, the signal drops for a moment, and LE appears. Nothing looks wrong from the outside.
Clip your multimeter to both ends of the short harness that runs from the motor and sensor to the connectors at the lower back of the cabinet. Set it to continuity. Now bend and wiggle the harness along its length, especially where it passes through the frame. A reading that flickers confirms a broken conductor. Replace the harness.
When the Control Board Is the Last Suspect
Once the harness checks out and every motor part reads correctly, attention turns to the main control board. Look for scorch marks or swollen components on the board under the top panel. Board diagnosis beyond a visual check calls for live voltage testing and a technician.
Repair Cost vs Replacing the Washer
A rotor position sensor is the cheapest outcome by far. Retail listings commonly place it in the $50 to $150 range depending on model and seller, and swapping one takes about an hour with basic tools. Most owners handle it themselves.
Costs climb from there. A stator runs several times the sensor price. Main control boards sit higher still, and a tub bearing job requires splitting the machine apart, which pushes labor time well past anything else on this list. Our appliance repair cost guide for Livonia breaks down what a service call and parts typically run in Wayne County.
Here is a simple rule. Machines under seven years old justify a sensor, harness, or stator repair easily. Past the ten-year mark, weigh a control board or bearing quote against the price of a new washer using the 50/50 rule for appliances, which says a repair costing more than half the replacement price rarely makes sense. The Kenmore washer LE code is worth chasing when the fix is a sensor. It deserves a hard think when the fix is a board.
When to Call a Technician
Bring in a professional at any of these points:
- The spin basket stays locked after you clear every obstruction, which suggests a worn tub bearing.
- You spot scorching or swollen components on the control board.
- A repair requires live voltage testing.
- Wires appear damaged and you are unsure how to reconnect them correctly.
One more thing worth knowing: running the machine while LE keeps appearing puts extra strain on the motor and board. Park the washer until you have an answer. Homeowners around Livonia and Wayne County can book same day washing machine repair, and our guide on what to expect on a first service call walks through the visit before you schedule.
How to Prevent the Kenmore Washer LE Code From Coming Back
Small habits keep this code away for good.
Measure your detergent instead of pouring by eye, and use high efficiency detergent in a high efficiency machine. Load the drum loosely so clothes tumble with room to move, and mix large items with small ones. Empty every pocket before laundry goes in, since coins cause more obstructions than anything else. Clean the drain pump filter every few months. Run a cleaning cycle monthly with a washer cleaner or hot water and vinegar.
Frequently Asked Questions
Can I fix the Kenmore washer LE code myself?
Often yes. Reset the control board, lighten the load, clear suds, and check for obstructions first. Those steps solve a large share of cases with no tools and no parts.
Is it safe to keep running the washer with the LE code?
Park the machine instead. Repeated attempts to spin against resistance stress the motor and control board, which turns a small repair into a larger one.
What causes the LE code to keep coming back?
Recurring codes usually trace to a worn rotor position sensor, a damaged wire harness, or a control board fault. Each one needs testing rather than guessing.
How do I hard reset a Kenmore washer?
Unplug it from the wall, wait five minutes for the stored charge to drain, then plug it back in and start a short cycle.
What do “LE1” or “LEI” mean on a Kenmore Elite washer?
It belongs to the same motor lock family as LE and appears on certain top load models. LG documents both codes together, and the troubleshooting matches.
Does the LE code mean the door lock is broken?
No. Door lock trouble posts DE. LE describes a locked motor.
My washer shows LE and is full of water. How do I drain it?
Try a drain and spin cycle first. If water remains, unplug the machine, then pull the water out through the drain hose with a shop vacuum before you open anything.
Getting Your Washer Running Again
Check your model prefix, reset the board, lighten the load, and look for obstructions. Move to the rotor nut, then the rotor position sensor, then the harness. Follow that order and you will land on the cause without replacing parts you never needed. Still stuck? Contact our team and a certified technician will diagnose it for you.